Call: 02089881662

5 DIY Tiling Tips and Tricks

For the odd repair, calling out a tiler can feel like overkill. If you’re confident that you can handle kitchen and bathroom plastering and tiling for yourself, you may as well replace any dodgy tiles independently. You’ll never have the experience or the prowess of a professional tiler, but with these 5 DIY tiling tips and tricks, you’ll be better equipped to avoid all the biggest headaches that come with handling your own work.

At Kiasu Workforce, we’ve got advice for every single stage of your tiling process. So whether you’re mixing up your grout or you’re adding your final touches and refining the finish, here are 5 DIY tiling tips and tricks to make your life easier.


1. Buy More Tiles

Ideally, it would be best if you aimed for ten percent more tiles than you’ve calculated that you need. Any inexperienced tiler may buy a couple of extra tiles with the possibility of mistakes in mind, but sticking to the ten percent rule is a top tip. If you’ve miscalculated how many tiles you needed initially, which is easily done as a novice, your extra tiles cover your back! You can’t always rely on the opportunity of going back and buying more tiles if the need arises because new tiles can be from a different batch with a slight colour difference. Mismatched tiles aren’t attractive!


2. Patience Pays Off

A general rule of thumb for successful DIY and property maintenance is that you’ll see more success when you take your time. The same goes for your tiling; it’s more likely to be successful if you’re patient. When you’re mixing your grout or any tile adhesive, let it stand for ten minutes once you’re done stirring, and all dry chunks will have had time to absorb water before you begin. Equally, if you don’t allow your mortar to set before you grout your tile, it can crack and crumble, meaning that your work can come loose. There’s nothing less amusing than spending hours fitting your tiles to perfection, only for them to slip away.


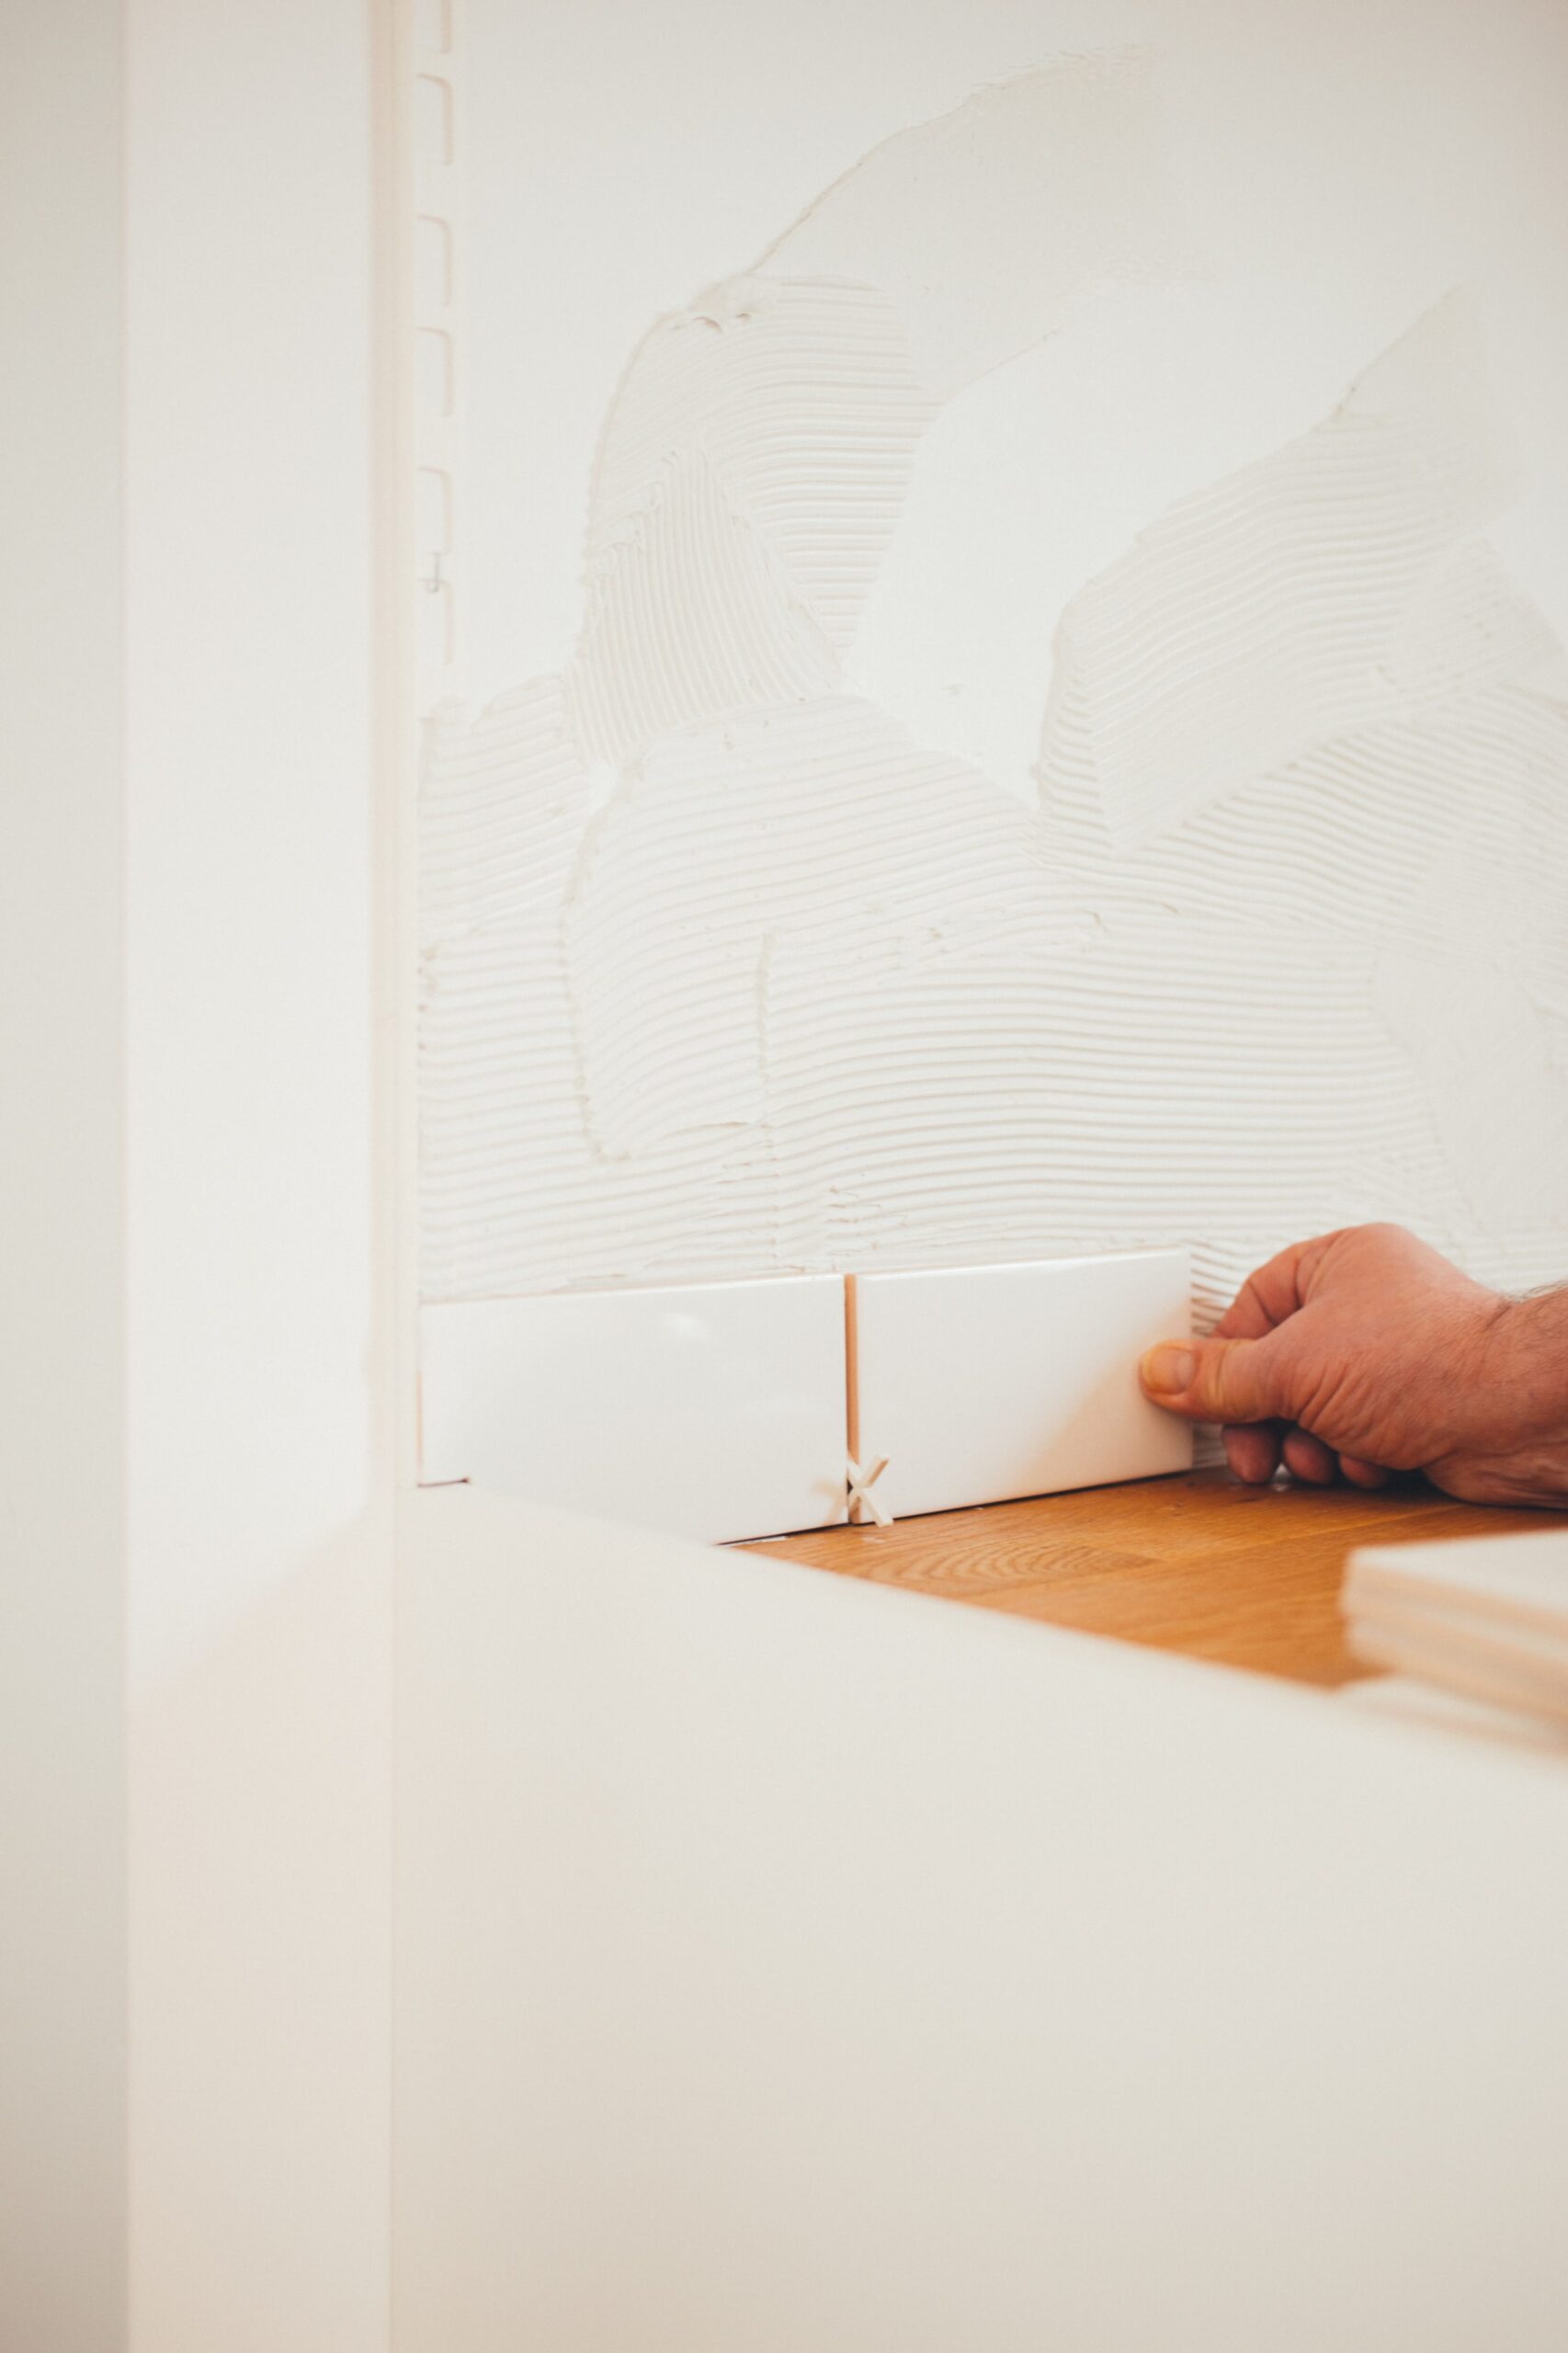
3. Focus On A Flat Foundation

Any tiling work needs to be completed on a flat foundation, or you’ll have to confront lippage – a gap where tiles protrude over their neighbours. Protruding tiles are more likely to become loose, and they ruin the uniform of your tiling pattern. If your floor or your wall has gaps that you suppose will be detrimental to the finish of your tiling, you ought to plaster or screed over the surface for the flattest foundation to begin work. The less complex your base is, the higher quality your finished work will appear since you won’t need buckets of skill in working around problems to finish the job!


4. Start In The Middle

You may be wondering in what universe you’d ever start your work right in the centre, over moving in from a corner or an edge. With wall and floor tiling, starting from the centre is the most sensible move! Our top tip with wall tiling is to start tiling your grid in the centre of the wall since it’s easier to guarantee your pattern stays symmetrical. While it’s natural to want to follow the traditional route and begin in the corner, that approach is likely to leave you with wonkiness and an imperfect finish by the time your tiles have set. A centre-focused system, even for your floor, also means any half-tiles you may need can go at the end of each row, and they’re going to be of matching size.


5. Get Help When Necessary

This last point may seem counterproductive in a list of tiling DIY tips and tricks, but sometimes the most sensible thing you can do is seek professional help. Know your limits, and contact local tradespeople when you aren’t confident you can finish a job for yourself. Hiring a property maintenance business such as ours at Kiasu Workforce works out cheaper than you ruining and trying to repair a poor DIY job.

How Much Does An Electrical Safety Certificate Cost?

First and foremost, you may be wondering what an electrical safety certificate is and why you’d ever need one. An electrical safety certificate is a document provided by a qualified electrician stating that the plug sockets, the wiring and the fuse boxes in one building are safe for use. For any new electrical installation, repairs and servicing carried out, an electrical safety certificate is mandatory for homeowners and landlords to demonstrate that the house isn’t posing a risk to anybody’s health.

Bearing in mind that the document is a legal requirement, do you still have to pay for an electrical safety certificate? And if so, why? How much does an electrical safety certificate cost, on average? At Kiasu Workforce, we have answers to all the questions you could need to know about your electrical safety documents.


How Do I Organise An Electrical Safety Certificate?

Any registered electrician can issue an electrical safety certificate, so any local trader you get in touch with will be able to assist. Reputable tradespeople can be found on Google or recommended by local businesses, and you’ll be able to get in contact with most electricians by website, email or the phone with any queries before you settle on the work. An electrical safety certificate could be organised alongside other electrical works you need completing, or you could request it separately!


How Often Do I Update The Certificate?

Electrical safety certificates can perfectly accompany periodic inspections, so you ought to arrange for a new certificate whenever your property needs to be inspected. Tenanted properties need inspecting every five years or at every change of residency, so that’s when a new certificate ought to be issued. Owner-occupied homes only need checking every ten years, so certificates will only need updating once a decade. Businesses need a periodic inspection and a new certificate every five years at the minimum.


Why Do Electrical Safety Certificates Cost?

Your electrical safety certificates cost since you’re paying for an electrician’s time. Certificates can only be issued once all ports and wiring in your home have been inspected, and that takes expertise, and travel that is factored into the cost. The physical certificates require resources that cost too, such as accompanying paperwork to file away as proof of the certificate’s validity and the actual award paper.


How Much Do Electrical Safety Certificates Cost?

From one-bedroom flats to five-bedroom houses, you can witness a price difference from one hundred pounds to five hundred. A broad estimate of your certificate cost is the number of bedrooms multiplied by one hundred, but that’s excluding VAT. Also, the area that your house is in will likely affect the hourly rate of local electricians, so you can never be certain on what you’re looking to pay without a quote! Thankfully, most businesses provide no-obligation, free quotations or estimates through the phone.


Are There Any Benefits To Certificates?

Electrical safety certificates are an absolute necessity to landlords to demonstrate that they’re doing everything within their power to keep their properties in peak condition. Suppose any serious faults that cause injury to residents should develop. In that case, landlords that have had their property inspected can prove that they aren’t at fault and avoid legal or financial trouble.

The peace of mind that comes alongside a safety certificate can also be worth every penny for your home. When all of your property and your treasured belongings are stored under one roof, you want to be as confident as possible that an electrical fire is highly unlikely. In a proven-safe home, you know your items and your loved ones are as secure as possible.


The Conclusion

Electrical safety certificates are an unavoidable cost, but they’re required for sensible reasons. So when the time comes to schedule your periodic inspections, contact well-reviewed tradespeople like the team at Kiasu Workforce for your next certificate and a thorough assessment of your property for any electrical faults.